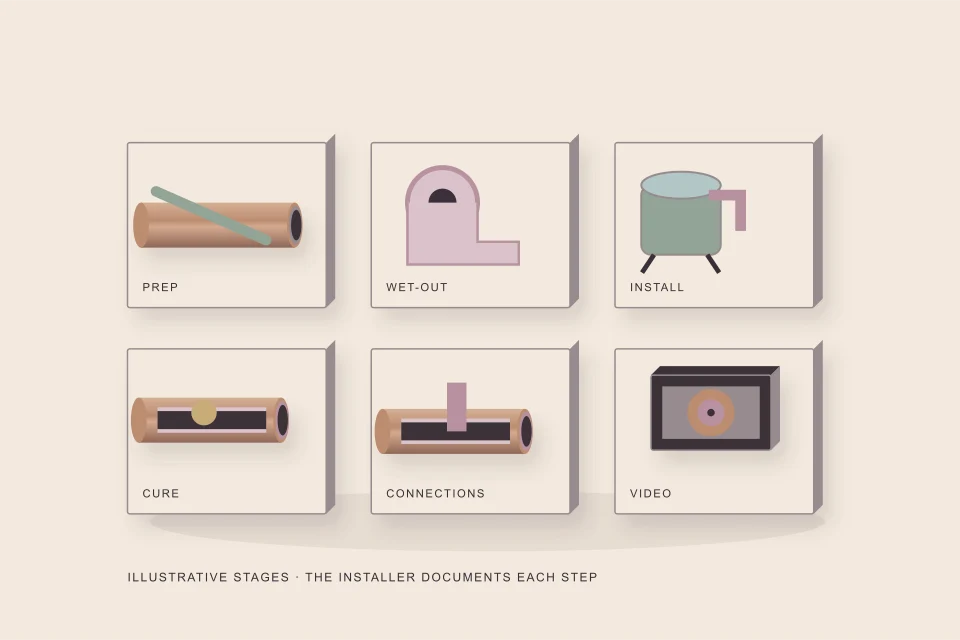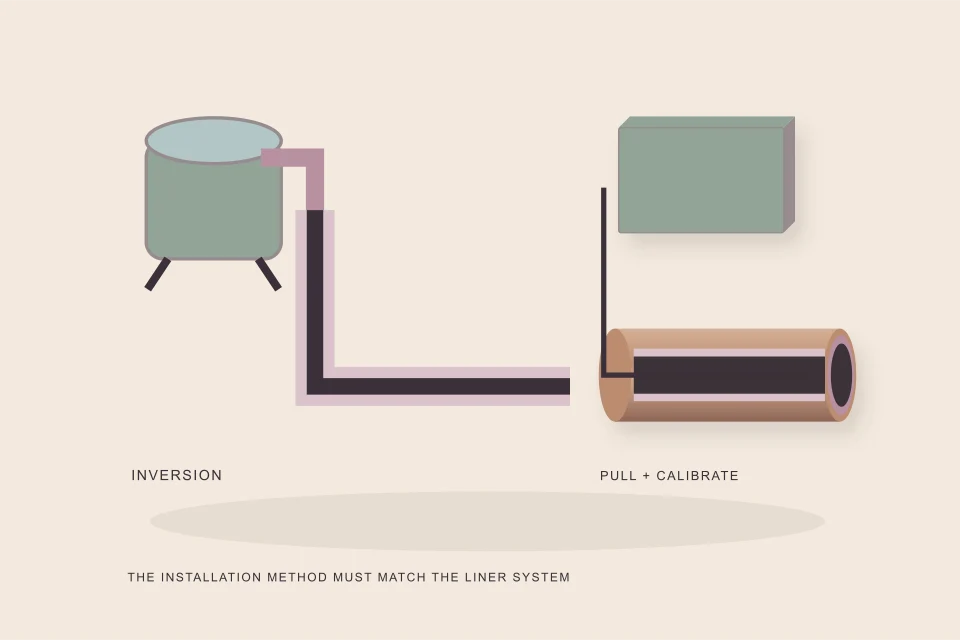
A cured-in-place liner goes in one of two ways. Inversion, the ASTM F1216 method, turns the wet tube inside out along the pipe under water or air pressure, pressing its resin face onto the wall. Pull-in-place, ASTM F1743, winches the tube in flat and then inflates it, usually by inverting a calibration hose inside. UV glass-fibre liners are pulled in and inflated with air under F2019.
- Inversion presses resin into open joints and cracks; the coated face ends up as the liner’s inside surface.
- A pulled-in tube keeps its membrane on the outside, which limits resin migration into joints.
- SUDAS notes inversion may suit lines with heavy infiltration, and that both work equally well for structural defects.
- House laterals are often inverted with air from a pressurised drum at a cleanout.
- A one-piece main-and-lateral liner under ASTM F2561 is inverted from the main to renew the connection too.
01 /How does inversion work?
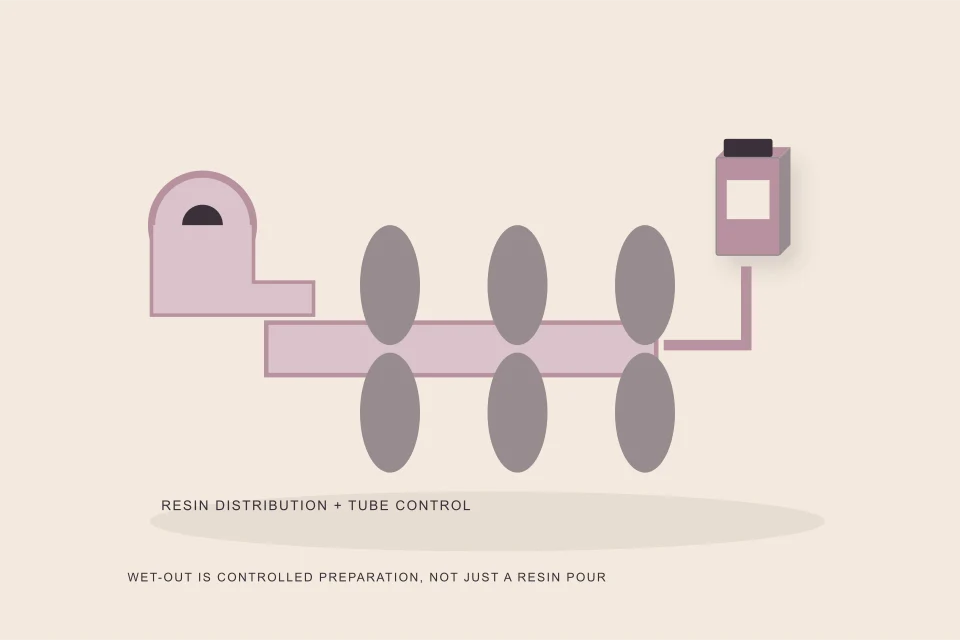
Inversion uses pressure to turn the wet tube inside out as it travels along the pipe. The Iowa SUDAS manual describes the classic water inversion on a sewer main: one end of the tube is cuffed back and fixed to an inversion ring above the access point, the tube is filled with water, and the resulting head of water forces the liner along the sewer, inverting it as it goes. The same head expands the tube against the pipe wall, so the resin-soaked felt, now on the outside, is pressed onto the host pipe.
On a house lateral the same idea is scaled down. The wet tube is loaded into a drum or pressure vessel at the cleanout, and compressed air inverts it along the line. Whether water or air drives it, the physics is the same: the fold at the leading edge, the inversion face, advances through the pipe, laying the liner against the wall from behind it. The coated membrane that was on the outside during handling becomes the liner’s smooth inner face.
02 /How does pull-in-place work?
In pull-in-place the tube is not turned inside out. A winch cable is threaded through the host pipe from the far access point and attached to the flat, wet tube, which is drawn into position. ASTM F1743 describes it as pulling a resin-impregnated, flexible fabric tube into the existing conduit and then inflating it through the inversion of a calibration hose. The calibration hose, inverted inside the pulled-in tube, presses it outward against the wall and holds it there through the cure.
Because nothing turns inside out, the tube’s outer membrane stays on the outside throughout. SUDAS notes that membrane may be left impermeable or perforated or slotted before installation, which should be specified, and that even when perforated it can inhibit resin moving from the liner into joints and cracks. Glass-fibre UV liners under ASTM F2019 are also pulled in, but inflated with compressed air, so the lamp train can then travel through the open tube.
03 /Which method suits which sewer?
SUDAS gives one clear rule of thumb: while pull-in-place can be used successfully, inversion may be better suited to pipelines with high levels of infiltration through the joints or cracks, and the two work equally well for pipes whose defects are more structural in nature. The reason is the resin pressed outward during inversion, which the extra 5 to 10% resin allowance in F1216 accounts for, and which helps seal leaking joints.
| Question | Inversion (F1216) | Pull-in-place (F1743, F2019) |
|---|---|---|
| How the tube moves | Turns inside out under water or air pressure | Winched in flat, then inflated |
| Access needed | One launch point; the far end must be reachable to finish | A launch point and a winch point |
| Resin into joints | Some is pressed outward into joints and cracks | Limited by the outer membrane |
| Membrane afterwards | Inside face of the liner | Outside of the liner |
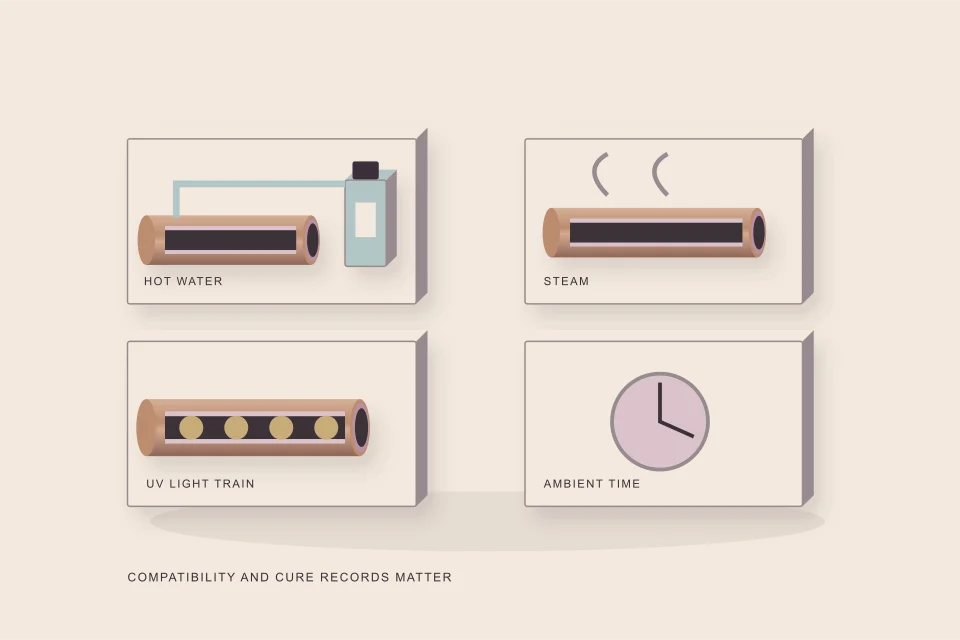
| Typical cures | Hot water, steam, ambient; photo-initiated in F1216-22 | Hot water, steam, UV |
| Stated range | 2 to 108 in | 2 to 96 in (F1743); 4 to 72 in (F2019) |
For a homeowner, the practical differences are access and the kind of defect. A lateral with one usable cleanout and no way to reach the far end is a natural candidate for air inversion from the cleanout. A line with access at both ends can use either. A line where groundwater is visibly running in through many joints may benefit from inversion’s resin migration. Which system an installer uses is also a matter of what they own and are trained on; ask why they chose it.
04 /What goes wrong during installation?
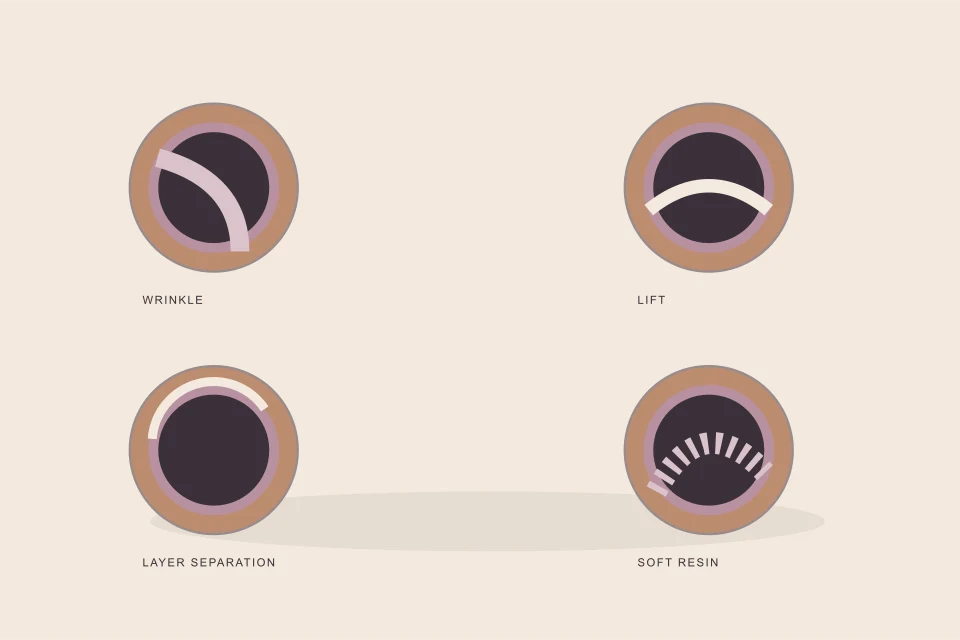
Most installation problems trace back to pressure, friction and geometry. The inversion face needs steady pressure to advance; too little and it stalls, too much and the tube can over-stretch and thin. Friction rises with length and with every bend, which is one reason long runs and sharp bends need planning. Where the host pipe changes diameter, the tube must either stretch or fold, and folds cure into wrinkles or fins.
- Stalled inversion: the face stops advancing, often at a bend, a protruding tap or a missed obstruction.
- Twist: a pulled-in tube can rotate, putting a seam or a thin line in the wrong place.
- Wrinkles at bends and transitions: excess material with nowhere to go.
- Loss of pressure during cure: the tube relaxes away from the wall, leaving a gap or a lift.
The finished-liner symptoms of each are described in CIPP liner failures. Good preparation prevents most of them: cleaning and descaling before lining removes what snags a tube, and an honest pre-lining video shows bends and transitions before a system is chosen.
05 /What is a one-piece main-and-lateral liner?
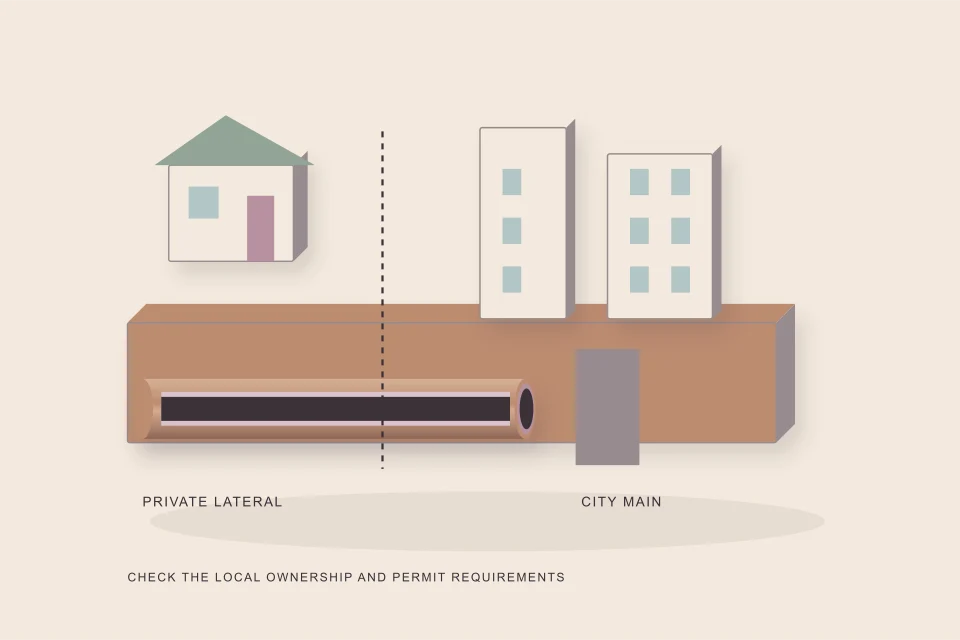
Most house laterals are lined from the house side, which leaves the joint where the lateral meets the city main as a separate problem. ASTM F2561 describes an alternative: a one-piece liner, inverted with air from the main, that renews the lateral and its connection to the main in a single piece, forming what the standard calls a continuous, tight-fitting, corrosion-resistant lining with a verifiable non-leaking connection at the main. Its stated scope is laterals of 3 to 12 inches, mains of 6 to 24 inches, and laterals up to 150 feet (46 m).
Systems like this are mostly used by municipalities and utilities working from the street, because the main is public. In Canada, the part of the service from the main to the property line is typically the municipality’s, though ownership varies by city; see Across Canada. If a city program has lined its side, your private side may be lined separately from a cleanout, and the two liners meet at or near the property line.
06 /How is the far end of the liner finished?
Whichever method is used, the liner has to stop somewhere, and that end needs as much care as the launch end. With inversion from a house cleanout, the inversion face travels until the tube runs out, so the tube is cut to the length measured on camera, and the end sits where the design says: at the property line, at a city-lined section, or at the main. With pull-in-place, both ends are at access points where the winch and launch were set up, so they are easier to see and trim.
At the far end of an inverted lateral liner, there is often no access to trim or seal by hand, so the end detail relies on the system: a seal fitted before the cure, a tube that closes against a known transition, or a later sectional liner. Ask where the far end will be, how it is finished, and whether the final video will show it clearly. An unsealed end is one of the defects in CIPP liner failures.
07 /What should I ask about the installation method?
- Will the liner be inverted or pulled in, and with water, air or a calibration hose?
- Which ASTM practice does the method follow?
- Where will it be launched, and how will the far end be reached and finished?
- How are the bends and any diameter change on my line handled?
- What pressure is held during the cure, and how is it monitored?
The tube itself is described in CIPP liner tubes, and the whole job in how sewer relining works. If your line has limited access or several bends, the Can My Sewer Be Relined? screen will list the points to raise. To have a quote read, send it to the HAUSE Sewer desk.
FAQQuestions people ask
What is pipe relining inversion?
Installing a liner by turning the wet tube inside out along the pipe under water or air pressure, so its resin face is pressed onto the wall.
Is inversion or pull-in-place better for a house lateral?
Either can be sound. Air inversion from a cleanout is common where only one end is reachable; pull-in-place needs a winch point at the far end.
What is a calibration hose in CIPP lining?
An inner hose inverted or inflated inside a pulled-in tube to press it against the pipe wall during the cure.
Can a liner be installed from the city main into my lateral?
Yes. One-piece main-and-lateral liners under ASTM F2561 are inverted from the main; they are mostly used by municipalities working from the street.
NETWORKGo deeper across the HAUSE Sewer network
Sewer lining for tree roots: will a CIPP liner stop them for good?
Sewer lining for tree roots: how a CIPP liner seals root-damaged joints, which lines qualify, preparation, weak points at the ends, and planning costs.
SewerQuotes.comSewer pipe lining cost: what a CIPP liner should cost in Canada
Sewer pipe lining cost in Canada (2026): CIPP liner ranges in CAD for full laterals and single sections, the line items, cost drivers and quality checks.
SewerInspector.caCommon sewer defects, explained by what they do to the pipe
Common sewer defects explained: roots, cracks, fractures, offset and separated joints, sags, deposits, holes and collapse, with severity and usual next steps.